Over the Bridge! Making a reduction linocut of red kites flying over Crickhowell


I always enjoy the challenge of making reduction linocuts of the birds that live around my studio in the Usk valley. The rendering of feathers, especially with markings rather than fur, can be tricky. How much do you simplify or stylize the textures and patterns? Added to that, I often try make my designs from a viewpoint close to the animal, as if you are there with it. So this red kite design was conceived to give the feeling as if you were flying over the bridge yourself, along with the kites.
If you click on the images below, it will take you to more individual blog posts.

Red Kite Over Snow, a linocut design from 2018 
Sun Swallows Barn Owl and Winter Branches 
Barn Owl and Winter Hedgerow 
Spring Swallows 
The Bluebell Cuckoo 
Kingfisher Evening Rain 
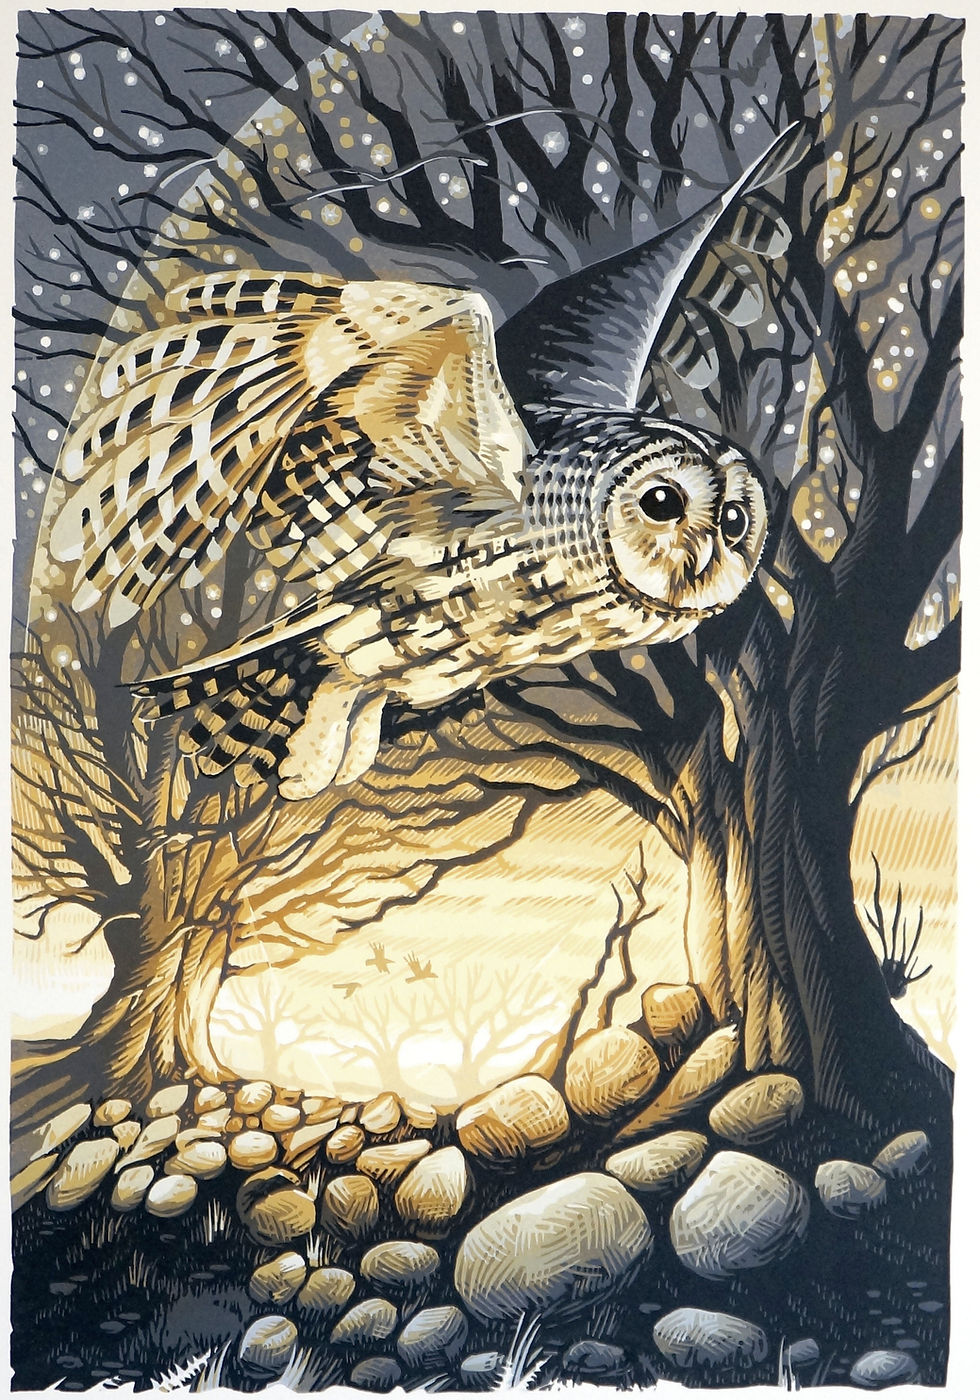
Tawny Owl Twilight 
Magpie Silver
Crickhowell (Crug Hywel)is just the other side of the river Usk from where I live, just outside Llangattock (Llangatwg) village. The bridge is first documented in 1538 and is believed to have existed since medieval times, originally constructed from timber. The present stone bridge between the town and the village was first built in 1706 and is a is claimed to be the longest stone bridge in Wales at 128m(420 ft). It is only 4m wide, so it's alternating one way traffic controlled by lights. It can be chaos if the light go down or someone gets it wrong. It's a grade one listed monument.
The bridge has V-shaped cutwaters you can see in the print design, that also cause the V-shaped patterns in the sometimes turbulent river Usk.
I start with a rough drawing of my idea, which is then redrawn many times and refined. Elements may be redrawn or scanned and reversed or changed in size, then printed out on my inkjet printer and stuck down to change the design till I'm happy with the composition. It's important not to get too 'precious' with the work, otherwise you become reluctant to make changes. Eventually I end up with a design painted in tones of blue. This helps me to think of the design simply as a range of tones, without the distraction of colours. When I start to cut the lino and print, I will work from the lightest through to the darkest tones, to build up the final image.
This image will be scanned, reversed and then transferred to the lino using graphite paper. Because the deign was so complicated and large (60cm tall), I decided to draw over the graphite transfer with black and white ball-point pens. It was at this rather late stage that I added the feint pattern in the sky, to mirror the patten in the water. The black keeps the design on the lino through several layers of cutting and printing as the design develops. I had planned for this print to be a 5 layer reduction linocut. In the end, it ended up with

The areas drawn out in white pen are the first to be cut away. When I now roll ink onto the lino and print, in a very light colour onto white paper, those areas will remain white.
At this time I had a rather poorly looking cat to care as well as printing. Mokka had got himself into a fight with something with (big) teeth. I'm glad to report, he's back to his usual studio demon/bully duties.
I started out printing onto around 40 sheets of paper. This is how things looked after the first layer of printing.
You do get some 'pick up' of the black ball-point for the first couple of layers at the start of the print run I used to worry about this but I've since found it tends to dissipate out into the printing ink and disappears after a week. As you can see above I roll different colours out within the same tone, blending them on the lino.
The process continues, cutting away lino and rolling out up in successively darker tones with mixes of colours until the image is built up. I originally intended for 5 layers of ink but ended up having to add a sixth at the end to give more richness to the darkest tone.
layer 2 head detail after 4 layers layer 3 and the man and his dog are taking shape cutting the feather patterns layer 4
Here's a quick and sometimes silly video of some of the stages of making this print... I need a rest!


Comments